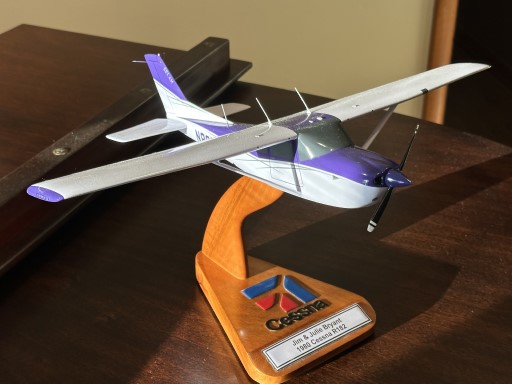
Receiving a custom wooden aircraft model is an exciting moment, whether it represents your squadron, a personal aircraft, or a meaningful aviation milestone. These handcrafted models are built with precision and care, and proper unpacking is essential to protect the craftsmanship and detail that make them unique.
This guide provides step-by-step instructions for properly unpacking your custom aircraft model, ensuring it remains in perfect condition and is ready for display.
Taking a few extra minutes to unpack your model correctly helps preserve:
-
The structural integrity of the model
-
Fine hand-painted details
-
Attached components like the landing gear and antennas
-
The overall finish and presentation
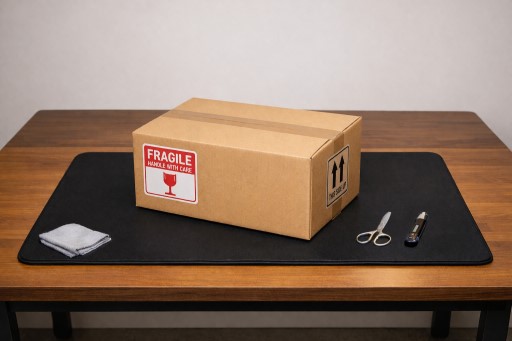
Step 1: Prepare a Clean, Stable Surface
Before opening the box, choose a flat and stable surface such as a table or desk. Make sure the area is clear of clutter and debris that could scratch or damage the model.
For best setup conditions:
-
Use a sturdy, level surface
-
Clear away sharp or rough objects
-
Ensure adequate lighting
-
Give yourself enough space to move around the model safely
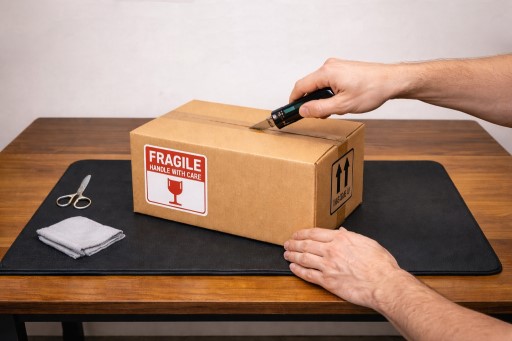
Step 2: Open the Shipping Box Carefully
Use a box cutter or scissors to open the outer packaging. Cut along the seams gently to avoid going too deep into the box.
To reduce risk during this step:
-
Cut slowly and with control
-
Avoid inserting the blade too far into the box
-
Open the top flaps gradually
-
Never force the box open
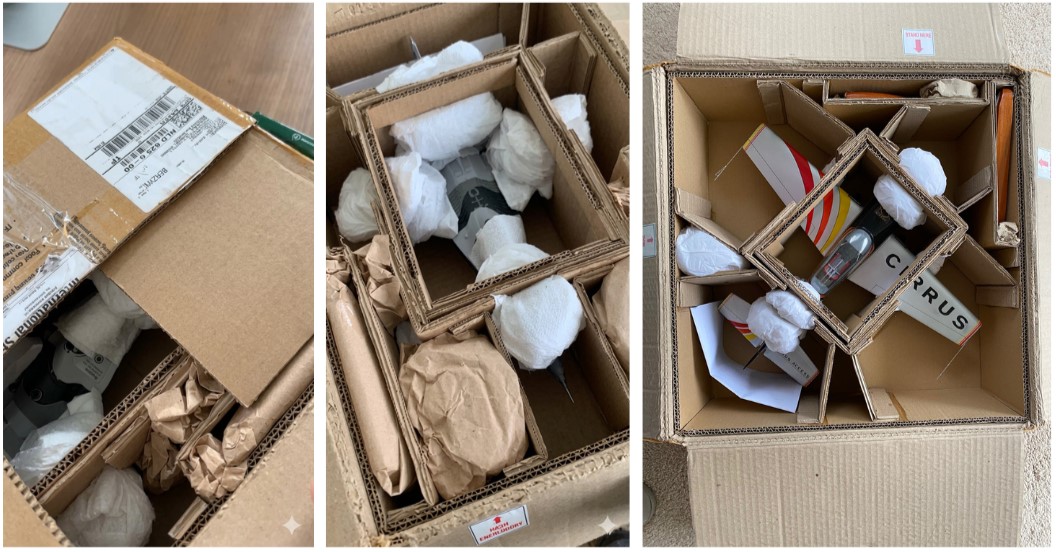
Step 3: Remove Protective Packaging Materials
Inside the box, you will find layers of protective materials such as foam, bubble wrap, and padding. These are designed to keep your custom aircraft model secure during shipping.
When removing packaging:
-
Remove materials one layer at a time
-
Avoid pulling or tearing aggressively
-
Check for small parts wrapped within padding
-
Gently loosen any ties or supports before lifting
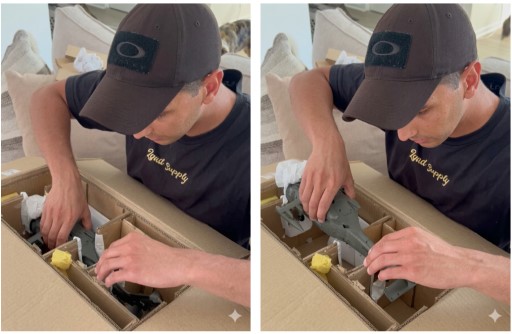
Step 4: Lift the Model Using the Strongest Points
When removing the model from the packaging, always lift it by the most stable and reinforced areas. Typically, this includes the fuselage or main body of the aircraft.
Always lift from:
-
The fuselage (main body)
-
Reinforced center sections
Avoid lifting from:
-
Wings
-
Propellers
-
Landing gear
-
Tail sections
These parts are more delicate and can break under pressure.
These parts are more delicate and can break under pressure.
Step 5: Inspect Your Custom Wooden Aircraft Model
Once the model is fully removed from the packaging, take a moment to inspect it carefully.
Check for the following:
-
Loose components
-
Minor shifts from shipping
-
Paint or surface imperfections
-
Alignment of small antennas and accessories
In most cases, your model will arrive in excellent condition thanks to protective packaging. If anything appears out of place, contact the provider for guidance before attempting repairs.
In most cases, your model will arrive in excellent condition thanks to protective packaging. If anything appears out of place, contact the provider for guidance before attempting repairs.
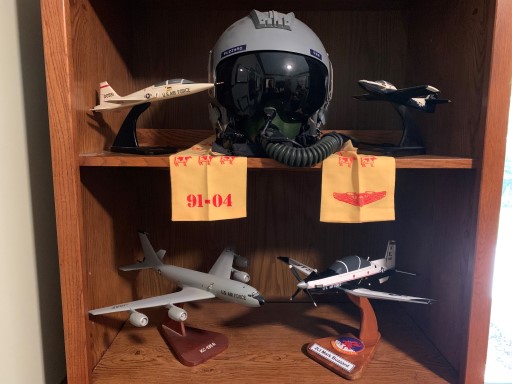
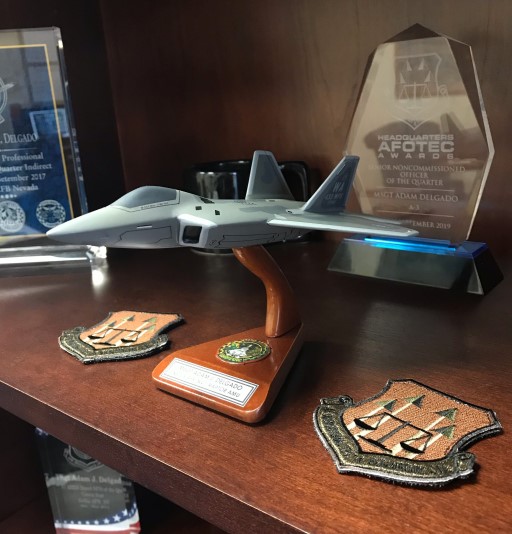
Step 6: Position Your Model for Display
After unpacking, place your custom airplane model on a stable display surface. Many customers choose shelves, desks, or display cases that highlight the craftsmanship and detail.
For optimal display:
-
Keep the model away from direct sunlight
-
Avoid high-traffic or bump-prone areas
-
Use a flat, stable surface
-
Consider a display case for added protection
To maintain the quality of your model over time, follow these simple care tips:
-
Dust gently with a soft cloth or brush
-
Avoid water or chemical cleaners
-
Handle the model only when necessary
-
Keep in a temperature-controlled environment
-
Store away from humidity and direct heat
Proper care ensures your custom aircraft model remains a lasting tribute to aviation excellence.
Proper care ensures your custom aircraft model remains a lasting tribute to aviation excellence.
Unpacking your custom wooden aircraft model is the first step in enjoying a piece that represents precision, craftsmanship, and aviation pride. By following these steps, you can protect your investment and ensure your model remains in excellent condition for years to come.